7 Essential Digital Photography Tips For Beginners

Learning the basics of digital photography can be complicated at first.
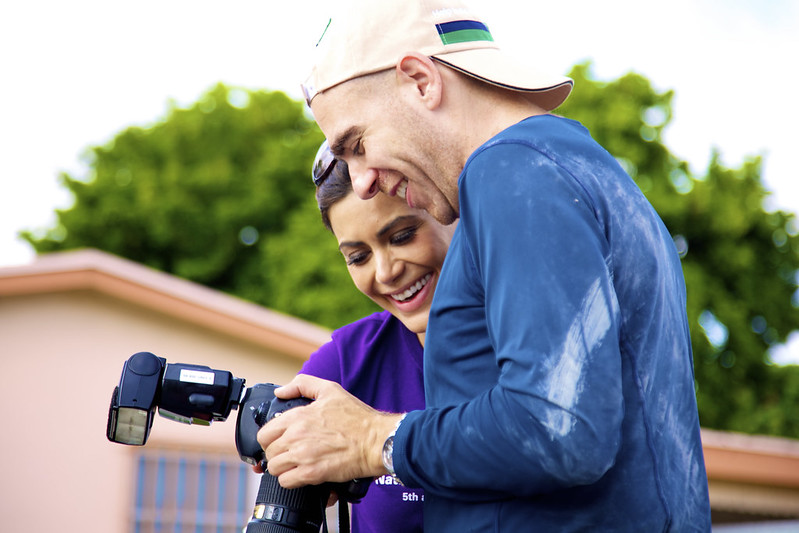
Understanding our equipment and at the same time having to compose a frame - it is definitely challenging.
Understanding our equipment and at the same time having to compose a frame - it is definitely challenging.
This is why people that are just getting acquainted with photography should be like sponges: absorbing every tip, every piece of advice and all knowledge they can get from professionals and their daily experiences.
To master digital photography, we also have to learn from others.
Since we all need some extra help to get started, here are 7 essential digital photography tips.
If you don’t know much about photography, or you are just starting out, this is the perfect article for you.
1.Stick with the kit lens for now.
If learning about photography is hard, learning about equipment is twice as hard! In fact, one of the main reasons people drop photography is that they find it just too complicated. So many lenses, so many different criteria, so much of everything!
One thing that will help you out is sticking with your kit equipment for now.
Most DSLR cameras include a basic lens which usually goes from 18mm to 50mm. This is great to start practicing with the focal distance.
Once you have spent enough time with it, you will have the necessary experience to purchase a more specialized lens.
2.Get to know your camera and lens.
Knowing your equipment is definitely a must for getting good at digital photography. Even if you have experience with other cameras, you should know that every camera works differently.
Before you jump on doing demanding photography sessions, take a few days to really understand everything about your camera.
How do you do this?
First, you need to read the manual.
I know it may be boring, but it is the best way to know every function and every button of your device.
Do you know how many times we overlook important settings just because we don’t read the manual? Sometimes we don’t even know our camera is able to do such great things because we don’t fully know it.
And second, just try your camera out!
Push buttons, move rings, go through menus and take some pictures.
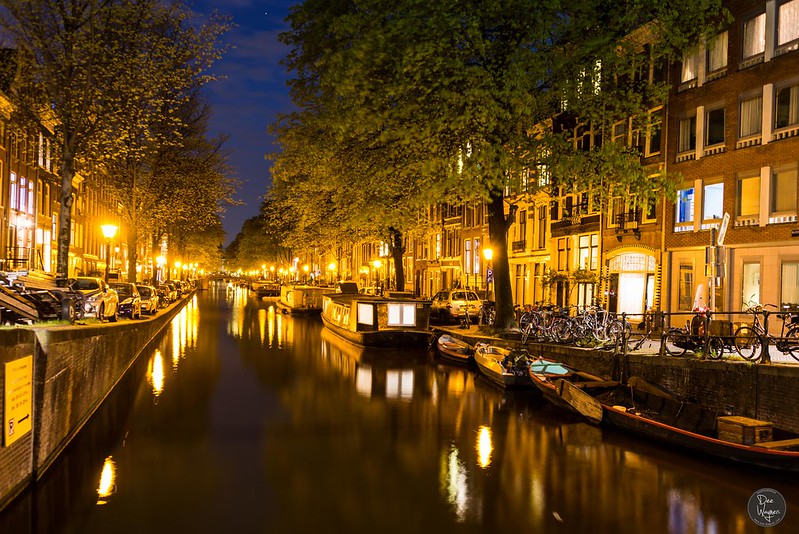
It’s important you try to do practice sessions at night as well, just to be sure of your cameras performance during low light conditions.
3.Try using minimum ISO sensitivity

Have you seen that unfortunate grain effect in pictures?
The one that appears during our night or interior sessions?
Well that’s caused by a high ISO sensitivity.
It may be a new concept for you, so for now, let’s just say that keeping your ISO set to a low level will reduce the chances of getting that digital noise on photographs.
ISO sensitivity mostly performs as automatic if you don’t set it up.
So before you start doing photographs, try to take ISO sensitivity to the lowest level in the menu.
If you notice your pictures are too dark, take it up to a higher level – but go for 400 at the most.
If you still notice too much underexposure, then set a higher aperture or a slower shutter speed.
4.Use the manual mode.
Digital cameras have the tendency to be used in auto mode, which can work fine depending on the occasion.
However, manual mode allows you to take charge of everything.
Manual mode lets you modify the shutter speed, aperture, focus, ISO sensitivity, etc. So managing all this at once will make you understand each of their functions.
If you want to know what shutter speed actually does, then set it faster or slower and see results.
Also, once you get more expertise, you will realize just how personalized your photos can be with this mode.
5.Certain hours in the day work better than others.
I'm sure you have heard that natural light is the best light…but that doesn’t mean every hour of the day is perfect to shoot.
Some times of the day have too much of a strong light, which can produce hard shadows or blinding reflections.
In digital photography we have some “magic hours” we can perform our best in.
Try to take pictures before and during sunrise, or else, before and during sunset.
Not only you will have great colors in the sky for landscape photography, but you will also get soft and fun lights to work with.
6.Don’t use too much zoom.
Zoom is quite handy when we can’t get physically close to the objective but want to take a more detailed look.
For instance, when we are dealing with wild animals, the further the better.
However, zoom might take away quality of the picture when you are working with standard zoom lenses or with low quality equipment in general.
Instead, just get closer to the subject.
In most cases, the closer you get to the frame, the better it will look.
Zooming can also make shakes more visible in the frames, so we need to avoid it -especially if we are not using a tripod.
7.Never take black and white pictures.

Black and white pictures are beautiful, but do you know what the secret is?
Never shooting in monochrome!
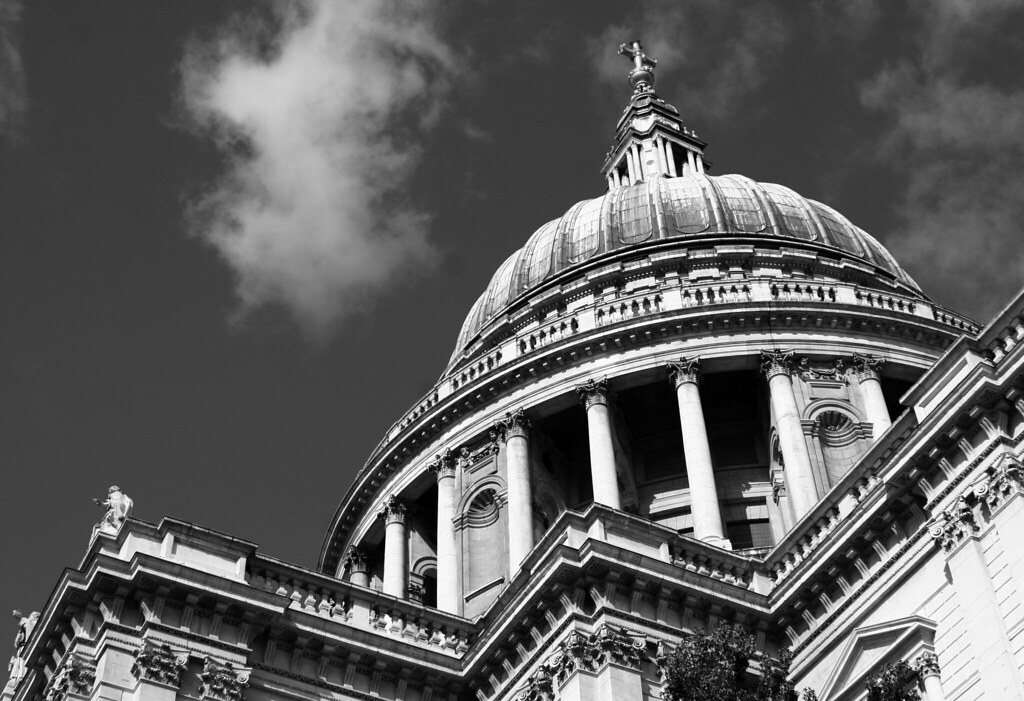
That’s right: black and white pictures are mostly processed in photo editing software. Regularly, they are taken with the original colors.
Although cameras have an option to shoot in that monochrome, if we take the picture with normal colors, we will be able to modify it later on the computer without any sacrifice.
We will be able to customize our photo and set different tones.
Not to mention that if we change our mind, we will always be able to put it back in color.
Last but not least, one of the most important photography tips for beginners is: learn how to use editing software.
Programs such as Photoshop or Lightroom will be extremely helpful to make our pictures great. However, we cannot rely completely in these programs. Be patient!
That is why it’s so important to learn what our options are. Nothing good comes from frustration!
So that's 7 essential photography tips for beginners. Have fun learning about photography!
Author bio:
Jessica is a writer and semi-professional photographer from Caracas, Venezuela. She loves to share her knowledge of digital photography online and help others who are keen to improve their photography skills.
License: Creative Commons


No comments: